Slasher Forsaken Guide (Jason): Cooldown Timing, Enraged State & Endgame (2026)
Slasher Forsaken guide for Jason: what 5.0.0 changed, every ability normal vs enraged, Behead timing, Gashing Wound use and Last Man Standing play.
Slasher Forsaken players also know him as Jason, and he is defined today by two things: the 5.0.0 "Azure's Wrath" update that raised his health from 1,250 to 2,000 and his Behead damage from 20 to 25, and the enraged state that Raging Pace puts him in. Everything else in the kit hangs off those two facts. The 5.0.0 numbers made Slasher sturdier against stuns and harder-hitting with his punish ability; the enraged state turns him, for up to 14 seconds, into a slower but invincible hunter whose every ability hits harder and recovers faster. This guide is built as a set of before-and-after comparisons: what changed in 5.0.0, how each ability differs between normal and enraged, and how the kit evolved through the earlier updates recorded in the wiki's change history. Players still search for him as Jason because the wiki used to list Jason as his real name; in July 2026 his creator renamed him Davie, saying the old name was a misstep given that the character is an homage to Jason Voorhees of Friday the 13th. Every number on this page comes from the Official Forsaken Wiki's Slasher page, read 15 October 2026.
Slasher today (Official Forsaken Wiki, read 15 October 2026)
- • 2,000 HP · walk 9 / run 28 · stamina 110 · terror radius 62.5 studs
- • Cost: free starter Killer · Difficulty 2 of 5 · Playstyle: Attrition · Released in update 3.1.0
- • Slash 20 (25 enraged) · Behead 25 (35 enraged) · Gashing Wound 50 (70 enraged)
- • Raging Pace: 30 s cooldown, enraged for up to 14 s or until he uses an ability
Watch how the player holds Behead until the survivor has committed to a line; timing matters more than speed on Slasher.
What update 5.0.0 changed
The 5.0.0 entry in the wiki's change history lists four gameplay changes for Slasher, plus a skin update and a new description. Here they are side by side.
| Stat or ability | Before 5.0.0 | From 5.0.0 (current) | What it does in a round |
|---|---|---|---|
| Health | 1,250 HP | 2,000 HP | More room to absorb Sentinel stuns and their damage, such as Shedletsky's 30-damage Slash, before a chase has to end. |
| Terror radius | 45 studs | 62.5 studs | Survivors hear him coming from further away, which favours committing to an ambush from close range. |
| Behead damage | 20 HP | 25 HP (35 enraged) | The punish ability now hits as hard as an enraged basic Slash. |
| Gashing Wound follow-ups | Smaller follow-up hitboxes | Same size as the initial hit | The five-hit combo is less likely to drop a survivor partway through. |
Source: Official Forsaken Wiki, Slasher page, change history entry 5.0.0, read 15 October 2026. The wiki's change history has not yet been filled in from 5.1.0 onward beyond new skins.
Normal versus enraged, ability by ability
Raging Pace makes Slasher enraged for 14 seconds or until he uses an ability. During that time his numbers change as follows.
| Element | Normal | Enraged |
|---|---|---|
| Movement | Walk 9, run 28 | Speed 19, cannot run |
| Defence | Can be stunned and damaged | Invincible to all attacks; lingers 1.5 s after enraged ends |
| Tracking | None | Closest survivor highlighted; the highlight lingers 2 s |
| Stamina | Up to 110 | Regenerates to 90, then falls to 70 over 6.5 s |
| Slash | 20 HP, 1.9 s cooldown, inflicts Bleeding | 25 HP, 0.8 s cooldown, adds a forward lunge |
| Behead | 25 HP, 18 s cooldown, 0.45 s windup | 35 HP, 12 s cooldown |
| Gashing Wound | 50 HP over five hits, 32 s cooldown | 70 HP over five hits, 24 s cooldown |
Source: Official Forsaken Wiki, Slasher page (Abilities), read 15 October 2026. Behead lunges 1.8 studs and inflicts Helpless for 8 s; Slasher is slowed afterwards whether it hits or not, unless it kills.
The road to 5.0.0: earlier changes
Slasher arrived in update 3.1.0. The balance changes recorded between then and 5.0.0 explain several details of the current kit.
| Update | Before | After |
|---|---|---|
| 3.1.4 | Gashing Wound cooldown 40 s (32 s enraged); Raging Pace stopped Slasher in place on use | Cooldown 32 s (24 s enraged); Raging Pace no longer stops him |
| 3.3.2 | Raging Pace speed 19.5; no stun protection on Gashing Wound | Speed 19; a Gashing Wound that hits gives stun immunity for the animation and 1.5 s after |
| 3.6.4 | Normal kit | Friday the 13th event: invincible, no sprinting, walk 23, Raging Pace at speed 32 with invisibility. Reverted after the event |
| 4.0.0 | Behead applied Slowness I even on a kill | No Slowness if Behead kills |
| 4.1.2 | Raging Pace at round end capped stamina at 70 into the next round | Bug fixed |
Source: Official Forsaken Wiki, Slasher page, change history, read 15 October 2026.
Playing the current kit
The comparisons above point to one way of playing. Slasher has 2,000 HP and no way to heal it, a reliable basic attack, one commitment punish, one combo that is costly to miss, and a state that makes him untouchable at the price of speed. The wiki describes his playstyle as ambushing survivors with his abilities and using Raging Pace to its best potential.
Behead as a commitment tax
Behead is not a chase opener. Its 0.45-second windup and 1.8-stud lunge mean it lands on survivors who have committed to a doorway or a straight lane and cannot turn behind cover in time. A hit inflicts Helpless for 8 seconds, and at 25 damage it is now worth holding for. A miss slows Slasher afterwards, so pressing it on cooldown hands survivors free distance.
- •Walk the chase for a few seconds so the survivor reveals their route.
- •Press Behead the moment they commit to a line they cannot leave.
- •Follow a hit with the reliable basic Slash rather than a greedy second read.
- •A Behead kill pays +12 Player Points and 36 EXP, and removes the self-slow entirely.
Raging Pace, then one ability
Because enraged ends the instant he uses an ability, the enrage is best spent on a single upgraded swing: Gashing Wound for 70 instead of 50, or Behead for 35 instead of 25. At speed 19 with running disabled Slasher will not catch a healthy survivor in open ground, so enrage when you are already close. Invincibility means a stun attempt during the enrage simply does nothing, and it lingers for 1.5 seconds after. Expect to leave the state with less stamina than a full 110 bar.
Gashing Wound only on near-certain hits
The downward swing catches a survivor in an animation and hits five times. A miss leaves Slasher in endlag with a 32-second cooldown, so use it on a survivor who is cornered, slowed, or Helpless from a Behead. A hit pays +8 Player Points and 24 EXP.
Sentinels and the 2,000 HP budget
The extra 750 HP from 5.0.0 matters most against Sentinels, the survivor class built to stun and damage the killer: Shedletsky, Chance, Guest 1337, Two Time and Jane Doe. Shedletsky's Slash, for example, deals 30 damage and stuns for 3 seconds. The wiki's Game Mechanics page adds that after any stun ends, the killer gains stun immunity that grows by 3 seconds for every Sentinel still alive, so a lobby full of Sentinels cannot chain stuns back to back. Count the Sentinels at the start of the round. Against several of them, enrage before you commit to a survivor near a teammate who could step in, because invincibility turns their best moment into a wasted cooldown. Against none, Raging Pace is better spent purely on finding the closest survivor. Our /blog/forsaken-shedletsky-survivor-guide shows the same exchange from the survivor side.
The late round and Last Man Standing
Survivors win by outlasting a clock of 3:00 with four or fewer players, 3:30 with five, or 4:00 with six or more; every completed generator puzzle takes 2.4 seconds off, a finished generator twelve, all five a full minute, and each kill adds 40 seconds back. Late in the round, defend the generators that still have progress at risk instead of chasing deep into corners. Once one survivor remains, Last Man Standing resets the timer to 1:14 and highlights both players to each other for 6 seconds, then for 3 seconds every 10 seconds. Concealment is gone on both sides, so ambush play stops working; treat it as a straight race and spend what you are holding.
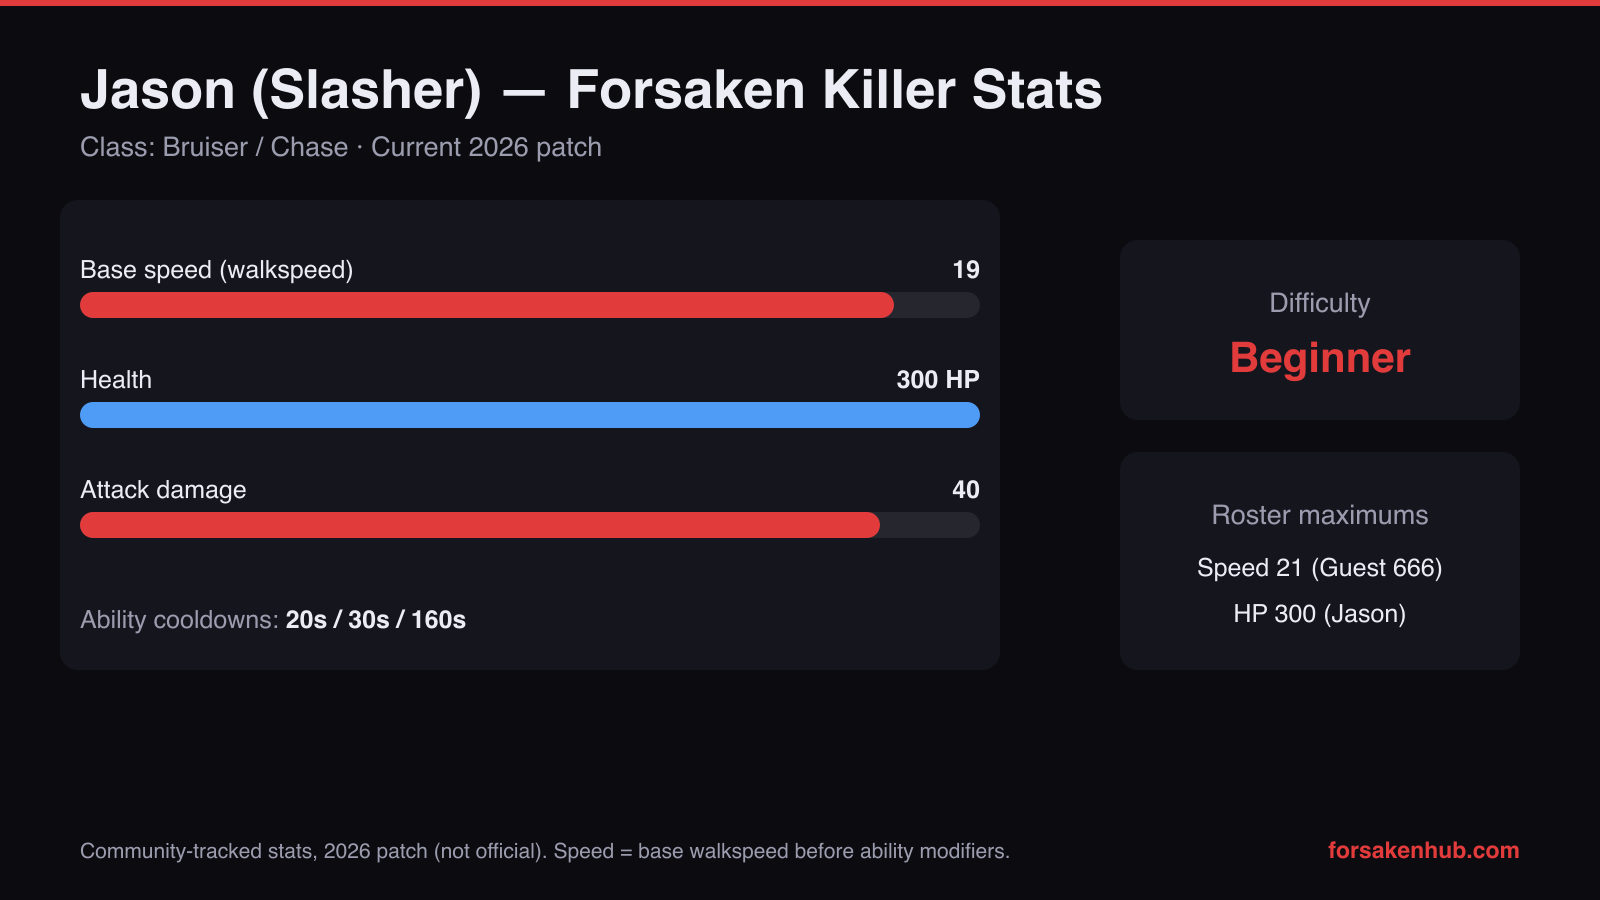
Jason (Slasher)'s stats from the Official Forsaken Wiki, October 2026. Chart by ForsakenHub.
Six questions about Jason and Slasher
Answers limited to what the Official Forsaken Wiki documents, read 15 October 2026. For the other free killer, read /blog/forsaken-coolkid-c00lkidd-killer-guide; the full roster is at /forsaken-killers.
Is Jason the same character as Slasher in Forsaken?
Yes. Slasher, pseudonym Project 13, is the in-game name. His real name was listed as Jason until July 2026, when his creator changed it to Davie. Slasher is an original Forsaken character based on Jason Voorhees from the Friday the 13th films, not a licensed version of him.
Is Slasher free?
Yes. Slasher is one of the two free starter killers, with c00lkidd. The paid killers are John Doe (1,000 Player Points), Noli (1,100), 1x1x1x1 (1,250), Guest 666 (1,666), Nosferatu (1,922) and Azure (2,000).
How much HP does Slasher have after 5.0.0?
Slasher has 2,000 HP. Update 5.0.0 raised it from 1,250, and the same update raised his terror radius from 45 to 62.5 studs and Behead's damage from 20 to 25.
Can survivors stun Slasher while he is enraged?
No. While enraged from Raging Pace he is invincible to all attacks, and the invincibility lingers for 1.5 seconds after the state ends. A Gashing Wound that hits also gives him stun immunity for the animation and 1.5 seconds after. The safe window for a survivor's stun is after he has spent the enrage on an ability and the linger has expired.
What does each Slasher ability pay in Player Points?
The wiki lists +4 Player Points and 12 EXP for landing Behead, +12 and 36 EXP for killing a survivor with Behead, and +8 and 24 EXP for landing Gashing Wound. As killer you also earn +10 per kill, +40 for killing everyone before time runs out, and +15 if you fail to. Player Points are earned only in public matchmaking.
Which Slasher achievements are there?
The wiki lists four: Brutality (kill a survivor with Behead), Mother's Calling (play as Slasher on Friday the 13th), What a Shame. (kill a survivor with the first hit of Gashing Wound while near one of Taph's Subspace Tripmines) and The Masked Brute (reach level 100 as Slasher).
Sources
Values can change between updates; check the in-game tooltip for the current patch. External links:
- •Official Forsaken Wiki, Slasher page (read 15 October 2026): https://forsaken.wiki/Slasher
- •Official Forsaken Wiki, Game Mechanics page (read 15 October 2026): https://forsaken.wiki/Game_Mechanics
- •Forsaken (Roblox): https://www.roblox.com/games/18687417158/FORSAKEN
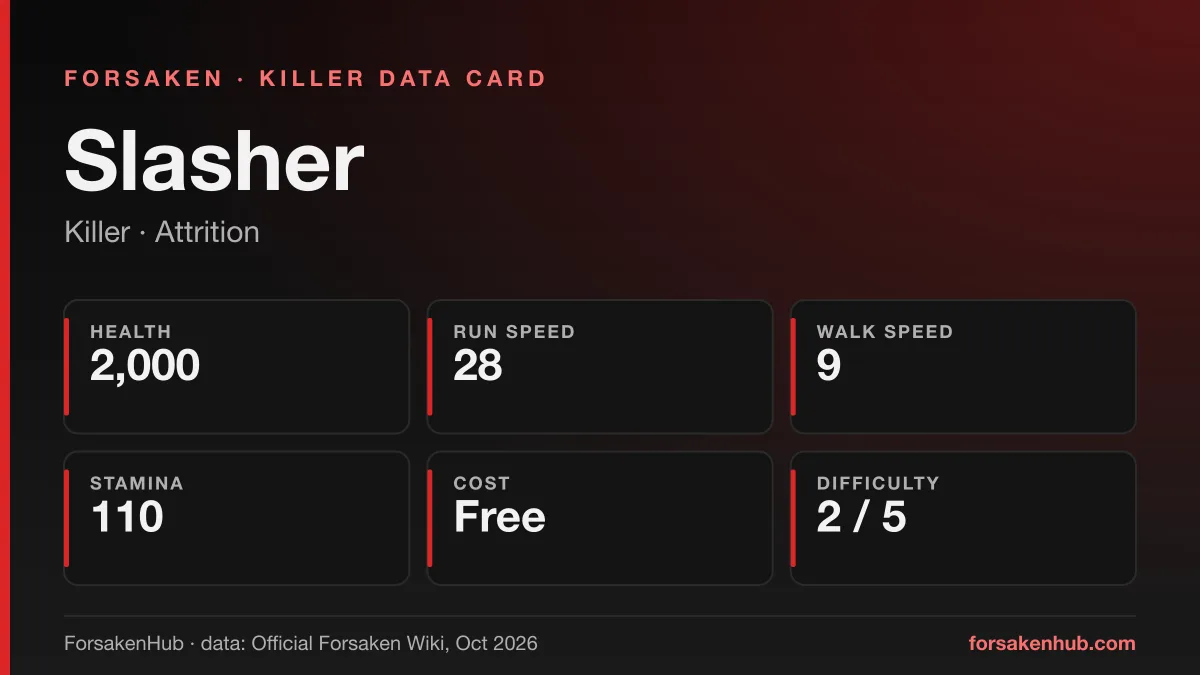
Slasher: health 2,000 · run speed 28 · walk speed 9 · stamina 110 · cost Free · difficulty 2 / 5. Data card by ForsakenHub from the Official Forsaken Wiki, October 2026.
Related Forsaken Guides
Guia Completa de Forsaken Roblox 2026 - Como Jugar, Tips y Estrategias
Guia completa de Forsaken Roblox en espanol. Aprende a jugar, mejores estrategias para sobrevivir y ganar como killer o survivor en 2026.
Todos los Mapas de Forsaken 2026 - Nombres, Versiones y Variantes
Todos los mapas de Forsaken 2026: nombres de los mapas públicos y de servidor privado, sus variantes y cómo funcionan, según la Wiki oficial de Forsaken.
Lista de Killers de Forsaken 2026 - Habilidades y Estadisticas
Killers de Forsaken: lista de los 8 con habilidades, recargas, vida, velocidad y coste en Player Points, según la Wiki oficial. Guía en español 2026.
Forsaken Map Rotation 2026: How Maps Are Picked + All 19 Public Maps
Forsaken map rotation 2026 per the official wiki: each round's map is random. All 19 public maps, old names, 9 variants, and private-only maps.
Forsaken Folder Locations: Jane Doe's Folder Quests Explained (2026)
Forsaken folder locations: what the official wiki documents. Folders are for Jane Doe's quests, 3 per quest, found in rounds. No spot lists exist.
Back to the ForsakenHub homepage for the full Forsaken Roblox guide hub, or browse all guides. You can also play the game directly on Forsaken on Roblox.