Best Support Survivors in Forsaken: Elliot vs Shedletsky vs Chance vs Two Time
Support meta guide for Forsaken. Learn how to play Elliot, Shedletsky, Chance, Two Time, plus when to pick 007n7 and Noob for intel and clutch saves.
Support survivors win more games during updates because they prevent early snowballs and turn random teams into stable teams. In Forsaken, most public matches are not lost because one player “didn’t loop”. They are lost because the team collapses after the first down: no heals, no information, and no safe resets. That’s why support and utility survivors become the hidden meta during update periods—especially when a new killer like Nosferatu spikes pick rate and lobbies are full of mixed skill levels. This guide compares Elliot, Shedletsky, Chance, and Two Time, then explains when 007n7 and Noob are the smarter choice for intel and self-saves. If you want a consistent escape rate, pick the survivor that matches your team’s biggest weakness, not the survivor with the flashiest ability.
Quick Stats: Support/Utility Meta
- • Best “Stability” Support: Elliot (team heals + injured aura info)
- • Best “Frontline” Support: Shedletsky (stun + emergency regen)
- • Best “High-Risk Carry”: Chance (coin flips + snowball potential)
- • Best “Clutch Reset”: Two Time (second-life win condition)
- • Best “Deception/Rotation”: 007n7 (clone + teleport utility)
- • Best “Beginner Survival”: Noob (cooldown consumables)
Watch this first if you want a clean “support fundamentals” baseline before comparing kits.
Support/Utility Survivor Comparison Table
Use this table to pick your survivor in 10 seconds based on what your team is missing.
| Survivor | Primary Value | Best When... | Avoid When... | One Execution Tip |
|---|---|---|---|---|
| Elliot | Team healing + injured aura intel. | Solo queue is chaotic and teammates keep staying injured. | You are often first chase, because Elliot cannot self-heal with his own pizza. | Throw pizza on travel lines with 10–20 seconds of expected foot traffic, not in deep corners. |
| Shedletsky | Frontline stun + emergency regen. | Killers over-commit to chases and rescues keep failing. | You miss stuns often, because a whiff wastes time and leaves you slowed. | Only slash when you already know your post-stun escape route, not as a panic reaction. |
| Chance | Tempo swings through risk (coin flips + flintlock threat). | Your team can capitalize on a big swing window and you can play disciplined risk. | Your lobby punishes slow animations, because bad timing gets you deleted. | Treat the flintlock as a “high value only” tool and avoid gambling during active chase. |
| Two Time | Second-life win condition (prepared ritual + Oblation). | Endgames are messy and you need a clutch reset plan. | You refuse to prep early, because Two Time rewards preparation over reaction. | Plant your ritual in a safe-but-not-obvious spot and avoid dying near it once you are “online.” |
| 007n7 | Rotation tricks + deception (clone + teleport utility). | You need rescue angles, map rotations, and time-wasting value. | You spam tools loudly, because obvious usage gets read and punished. | Use clone/teleport during killer commit moments to force misreads, not during calm patrol windows. |
| Noob | Reliable self-survival via consumables. | You want consistency and you’re learning match flow. | You only react at the last second, because items often require slow “consume” windows. | Pre-use consumables behind cover before contact starts; don’t try to drink/eat in the killer’s face. |
This table focuses on practical match impact, not lore or cosmetics.
Elliot vs Shedletsky: Which Support Actually Wins More Matches?
If you only have time to learn one support survivor, choose based on what your lobbies look like. Elliot stabilizes health bars across the map, while Shedletsky stabilizes chases with stuns and regen.
1) Elliot (Forsaken Elliot): The Medic Who Fixes Random Teams
Elliot is ideal when your teammates do not coordinate. He creates coordination for them through information and easy healing value.
- •Elliot reveals injured survivor auras for 12 seconds whenever any survivor takes damage, which lets you rotate for saves without needing voice chat.
- •Pizza Throw heals teammates for 5 HP instantly and 20 HP over time, so you can pre-place healing value on common routes instead of gambling on mid-chase heals.
- •Pizzas despawn after 25 seconds, which means your best placement is “where someone will pass soon”, not “where it looks safe”.
- •Your healing scales per objective contribution (+4 to healing after any objective contribution), so Elliot gets stronger as the match progresses if you keep participating.
- •Elliot cannot heal himself with his own pizza, so your correct play is to avoid being first chase and to spend early game enabling others to take hits safely.
- •Because additional Elliots reduce pizza effectiveness by 15% each (capped at 80%), one Elliot is usually optimal, while multiple Elliots become diminishing returns.
2) Shedletsky: The Frontline That Buys Seconds on Demand
Shedletsky is a “make space” support. He is strongest when killers over-commit and when your team needs time to reset.
- •Slash deals 30 damage and stuns the killer for 3 seconds on hit, which can turn a guaranteed down into a full escape if you angle it correctly.
- •Slash grants Resistance II for 0.75 seconds but slows you by 75% for 1.575 seconds, so you must cast it where you will be safe after the stun, not where you wish you were safe.
- •Fried chicken restores 5 HP instantly and 35 HP over 10 seconds, but the regen cancels if you get hit, so you should only eat after hard-breaking line of sight.
- •The chicken has only two charges and cannot be used at full HP, so it should be saved for post-rescue stabilization and endgame fights, not casual heals.
- •Shedletsky’s value increases against killers who rely on one ability window, because a 3-second stun can deny an entire combo attempt.
3) Decision Rule: Pick Elliot When You Need Health, Pick Shedletsky When You Need Space
Here is the simplest pick rule that works in most lobbies.
- •Pick Elliot if your team keeps dying because nobody heals and the second down happens within 20 seconds of the first down.
- •Pick Shedletsky if your team keeps dying because one killer chase turns into a elimination trade chain and nobody can create safe separation.
- •Pick Elliot against stealth-heavy killers because aura info helps you find injured teammates quickly after surprise hits.
- •Pick Shedletsky when your lobbies have lots of tunneling or camping behavior, because stuns and timed regen can create rescue windows.
- •Pick Elliot if you like playing the map, rotating, and stabilizing, because his kit rewards awareness and timing more than mechanical duels.
Chance and Two Time: High-Risk Support That Can Hard Carry
Chance and Two Time feel “broken” when played well because they create swing moments. They also feel “useless” when played carelessly because they punish mistakes with real consequences.
1) Chance: Luck-Based Snowball That Rewards Discipline
Chance is a high-risk, high-reward survivor whose coin flips can create strong momentum or make you fragile if you stack bad outcomes.
- •Chance’s coin flip can grant extra charges on good outcomes (heads), which means your best games are the ones where you stay alive long enough to convert extra charges into value.
- •If the coin lands on tails, your Weakness level increases by 1 with no cap, so repeated bad luck can make you take dramatically more damage and force you into stealth play.
- •Chance also carries a flintlock that can stun the killer if aimed well, but it can misfire or explode and damage you, so you must treat it like a “high value only” tool.
- •The correct use case for Chance is to take measured risks when the reward is 30–60 seconds of extra team time, not to gamble in early game when nothing is at stake.
- •If you are facing a killer who punishes slow animations, you should avoid coin flips during chase and instead set up your luck windows before contact starts.
2) Two Time: Second Life That Changes Endgame Math
Two Time is a “clutch” survivor because the second life turns one down into a reset if you prepared correctly.
- •Two Time can plant a ritual spawn point and charge an Oblation meter using dagger stabs, which means your early game job is preparation, not chase glory.
- •When the Oblation bar is full, reaching 0 HP triggers a respawn at your planted point, so you can play more aggressively once your reset is online.
- •Backstabs apply the strongest effects, so your highest value stabs are the ones you plan from behind cover or off teammate distractions.
- •Two Time does not gain Oblation or HP from stabbing killer minions, so the optimal play is to target the killer directly and stop wasting dagger value on side entities.
- •Once your bar is full, you should avoid dying near your ritual point, because an obvious respawn location can let the killer re-down you immediately.
3) When to Choose High-Risk Supports Over Safe Supports
High-risk supports are better when your team already has basics covered and needs a win condition, not a bandage.
- •Choose Chance when your team already has healing covered and you need a tempo swing tool to break killer momentum.
- •Choose Two Time when your team keeps losing endgame trades and you need a second-life clutch that changes the final minutes.
- •Avoid both characters if your team is uncoordinated, because their value often requires teammates to understand your setup and play around it.
- •Avoid both characters if you personally dislike planning, because both kits punish reactive gameplay and reward preparation.
- •Prefer Elliot and Noob in chaotic solo queue, because stable value outperforms swingy value in low-communication matches.
- •Prefer Chance and Two Time in coordinated SWF, because your teammates can intentionally create the moments that make your kit powerful.
Pro Tip
If you want a simple support rule that instantly improves your team, adopt a “reset rhythm”: after every revive, spend 10 seconds creating safety (pizza placement, stun threat, or rotation call) before anyone returns to objectives.
007n7 and Noob: Utility Picks That Keep You Alive
Not every “support” is a healer. Sometimes the best support is the survivor who survives long enough to keep objectives progressing.
1) 007n7: Deception and Rotation Utility
007n7 is a utility survivor with tools that create distance and misdirection, which is extremely valuable when killers are practicing new updates.
- •007n7 can create a clone to deceive the killer, which is valuable for rescuing, wasting chase time, and forcing misreads at tight loops.
- •He can teleport to the furthest spawn point through his c00lgui tablet, which creates unique angles for revive and objective rotations.
- •Clone usage can reduce pressure from some minion-style threats, because it changes who gets targeted and buys you time to reposition.
- •The best 007n7 players treat their kit as “time buying”, because forcing the killer to re-check a tile is often worth more than any single heal.
- •Because his utility is loud and obvious when used poorly, you should time it during killer commit moments, not during calm patrol windows.
- •007n7 also connects to the broader “coolkid / c00lkidd / hacker myth” content cluster, so he is a strong keyword hub for future lore and strategy posts.
2) Noob: Consumable-Based Survival (Perfect for Beginners)
Noob is free and extremely practical: you survive longer, waste more killer time, and learn match flow without needing complex mechanics.
- •Bloxy Cola has a 50-second cooldown and requires 2.5 seconds of drinking where you cannot sprint and move 10% slower, so you must drink only when you are safe.
- •Slateskin Potion has a 55-second cooldown and requires 1.5 seconds of drinking where you cannot sprint and move 40% slower, so you should pre-drink before a risky rescue rather than during chase.
- •Ghostburger has a 45-second cooldown and takes about 2.2 seconds to eat while you move 40% slower and cannot sprint, so you should eat behind cover before the killer is on top of you.
- •Noob’s kit helps you cleanse slowing effects and create escape methods, which is extremely valuable against killers that punish bad stamina management.
- •Because you are often slowed during consumption, you should treat consumables as “pre-fight preparation” tools instead of “panic buttons”.
3) A Practical Team Composition for Updates
If your goal is to win consistently during a new update, build a team with clear roles.
- •Run Elliot as the single dedicated healer to stabilize the team and maintain map-wide injured information.
- •Run Shedletsky as the frontline protector to create rescue windows and stop killer snowballs after the first down.
- •Add either 007n7 for deception rotations or Noob for consistent survival, depending on whether your team needs mobility tricks or reliable self-prep.
- •If you want a high-risk win condition, replace the fourth slot with Two Time (endgame clutch) or Chance (tempo swing), but only if the team communicates.
- •Against Nosferatu and Noli, this composition works because healing and information stop chaos from turning into chained downs.
- •Against John Doe and 1x1x1x1, it works because stuns and resets prevent the killer from converting one setup into a full wipe.
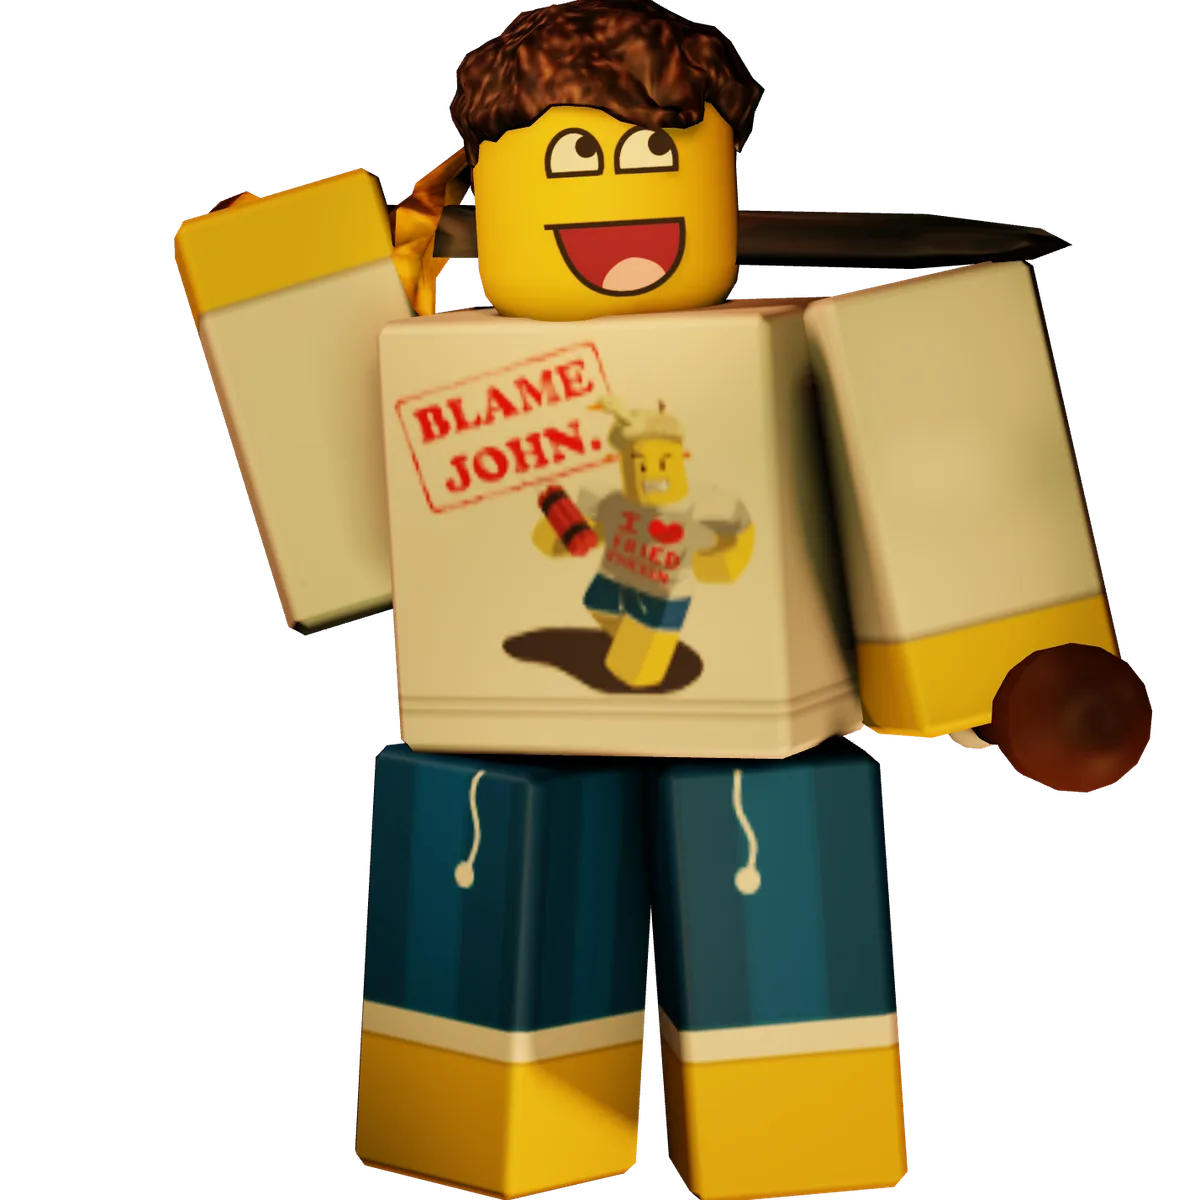
Shedletsky as they appear in Forsaken. Image: Forsaken (Roblox) © Forsaken Dev Group, via the Official Forsaken Wiki (forsaken.wiki).
Final Thoughts
Support survivors are the easiest way to win more rounds because they reduce how often your team collapses after one mistake. Elliot wins games by stabilizing health bars and providing injured information. Shedletsky wins games by creating space and denying killer tempo. Chance and Two Time win games when you plan your risk moments and create real swing turns. 007n7 and Noob win games by keeping you alive long enough to finish objectives. Pick the survivor that fixes your lobby’s most common failure, and you will feel the meta shift immediately.
- • Elliot is the best support for chaotic public lobbies because Pizza Throw provides simple, repeatable healing value.
- • Shedletsky is the best frontline support because a 3-second stun can reverse a chase or secure a rescue.
- • Chance is high-risk and can snowball with good outcomes, but Weakness stacks from tails have no cap and can make you fragile.
- • Two Time creates a second-life win condition when the Oblation bar is full and a ritual point is placed intelligently.
- • 007n7 provides deception and rotation power through clones and teleport utility.
- • Noob is a beginner-friendly survivalist with 50s/55s/45s cooldown consumables that reward proactive timing.
- • The best update-period team composition uses one healer, one frontline, and two utility/win-condition slots based on team communication.
Pick one support survivor today and play 10 matches with a single focus: stabilize after every down. You will survive more rounds than if you try to “outplay” every chase.
Related Forsaken Guides
Forsaken FAQ 2026: 50 Real Questions Answered (Maps, Killers, Match)
50 real Forsaken questions answered in 2026: how many maps, slowest killer, biggest map, basement location, private server badges, match length, and 45 more.
Forsaken Lobby Map: Cabins, Basement, Seasonal Variants & What Is Actually There (2026)
The Forsaken lobby map as the Official Forsaken Wiki documents it: three cabins by a lake, the two-floor main cabin, Jane Doe's basement quests, the AFK grandfather clock, the shop, and the Summer, Halloween, Christmas and Azure variants.
Forsaken Admin & Dev Killers Guide - Secret Characters Explained (2026)
Everything about Forsaken's admin and dev killers. How to unlock secret characters, their abilities, and what makes them different from regular killers.
Forsaken Mobile Guide 2026 - Touch Controls, Settings & Tips
Complete guide to playing Forsaken on mobile. Touch controls layout, best mobile settings, performance tips, and strategies for phone and tablet players.
How Long Is a Forsaken Match? Player Count, Rules & Game Length (2026)
How long a Forsaken match is and every real rule: a 4-minute clock trimmed 3 s per generator layer and extended per elimination, 1 killer vs 4 survivors, Last Man Standing at 1:14, no hooks or hatch, and what a round pays in Player Points.
Back to the ForsakenHub homepage for the full Forsaken Roblox guide hub, or browse all guides. You can also play the game directly on Forsaken on Roblox.