Shedletsky in Forsaken: Aggressive Support Guide, Stuns & Trades (2026)
High-value Shedletsky guide for Forsaken: how to time stuns, take correct trades, and use heals to end the crisis instead of feeding downs.
Shedletsky is the aggressive support: you don’t just heal and hide—you create space by stunning, trading, and forcing the killer to respect you. Most Forsaken supports improve a team by stabilizing. Shedletsky improves a team by making the killer’s chase decisions uncomfortable. If you’re tired of feeling powerless while teammates get tunneled, Shedletsky is the pick that lets you actively change the chase with a well-timed stun and a disciplined reset. This guide focuses on the part that matters: when to fight, when to back off, and how to avoid feeding the killer a free down.
Quick Stats: Shedletsky (Community Listing)
- • Role: Support / anti-tunnel pressure
- • Basic Attack (Slash): 30 damage + ~3s stun (community listing)
- • Fried Chicken: 5 HP instantly plus 25 HP over 10 s, 70 s cooldown, usable twice per round
- • Strength: Creates space and interrupts killer tempo
- • Weakness: Mis-timed aggression becomes a free down
Watch for “space creation”: Shedletsky’s best plays aren’t flashy—they buy 6–10 seconds for a teammate to escape.
Shedletsky Tools (What They’re For)
Shedletsky is powerful when you treat your kit as a timing kit: interrupt → create distance → reset.
| Tool | Key Numbers | Job | Best Use | Mistake To Avoid |
|---|---|---|---|---|
| Slash | 30 damage + ~3s stun | Interrupt killer tempo and create space. | Use after a teammate is hit/downed to prevent a follow-up swing or secure a clean rotate. | Swinging too early from too far away (you get hit first). |
| Chicken Heal | 40 HP over 10s (2 charges) | Stabilize after trading and keep the team moving. | Use immediately after a successful space play to convert it into a full reset. | Using it in unsafe zones where the killer can re-engage and chain-down. |
If you want consistent value: use Slash to buy space, then use Chicken Heal to make that space matter.
The Shedletsky Mindset (When To Fight)
Shedletsky is not a duelist. You are a support who fights only when the payoff is distance for someone else.
1) Your Best Target Is the Killer’s “Second Hit”
Most matches swing on the second hit: the hit that converts pressure into a down.
- •When a teammate is injured in chase, position for the moment the killer closes distance for the finishing hit.
- •Your Slash is strongest after a hit or after a down attempt—when the killer is committed and predictable.
- •If you stun the killer before they commit, they simply reset chase and you wasted your window.
- •Your goal is to buy 6–10 seconds: enough to reach the next tile or a heal zone.
- •After you create space, immediately leave the chase tile; don’t hang around to “fight more”.
2) Take Trades Only When Your Team Can Convert
Trading elimination states can be correct—but only if it turns into progress.
- •If your trade secures a elimination save AND keeps objectives moving, it’s worth it.
- •If your trade happens while no one is progressing, it’s just two survivors losing.
- •Use your Chicken Heal after a trade to prevent the killer from snowballing.
- •If the killer is camping, coordinate: one person baits, one saves, you reset the injured survivor.
3) Use Chicken Heal to End the Crisis
Chicken Heal is not “free healing.” It’s a way to convert a successful interruption into a stabilized match state.
- •Use it after you create distance so your teammate is no longer in immediate danger.
- •Heal in a zone with hard cover and multiple exits; don’t heal in open lanes.
- •Two charges means you can plan: one charge for midgame reset, one for endgame trade.
- •If the killer drops chase, your heal window becomes even higher value—take it and split again.
- •If the killer re-engages, abandon the heal and rotate; don’t die “while healing.”
Shedletsky vs Common Killer Plans
Killers respond to Shedletsky in predictable ways. If you know what they’re trying, you stop feeding them.
If the killer tunnels one survivor
This is where Shedletsky shines.
- •Position ahead of the chase and force a stun at the moment the killer commits for the down.
- •After the stun, body-block once if safe, then rotate—your job is distance, not damage.
- •Call out the rotation lane so your teammate doesn’t panic and run into a dead zone.
- •Use Chicken Heal after the teammate breaks line of sight to fully reset.
- •Repeat once; the killer often gives up tunneling when it stops working.
If the killer tries to bait your Slash
Good killers will “fake commit” to make you swing early.
- •Don’t swing when the killer is not committed; wait for the close distance moment.
- •Use corners and cover so you don’t get hit before your stun connects.
- •If you miss your window, back off immediately—don’t chase the killer to “make it work.”
- •Your presence alone can create space; sometimes you don’t need to swing at all.
The Shedletsky Throw
Shedletsky loses value when you fight in the open and swing early. If you get hit before your stun connects, you usually donate a free down. Use cover, wait for commitment, and treat your kit as “space then reset.”
Sources (Verify Live Values)
Shedletsky values can change; verify in-game tooltips for the current patch. These references are useful starting points:
References
External links:
- •Forsaken (Roblox): https://www.roblox.com
- •Community Wiki (Forsaken2024): https://forsaken2024.fandom.com/wiki/Forsaken_Wiki
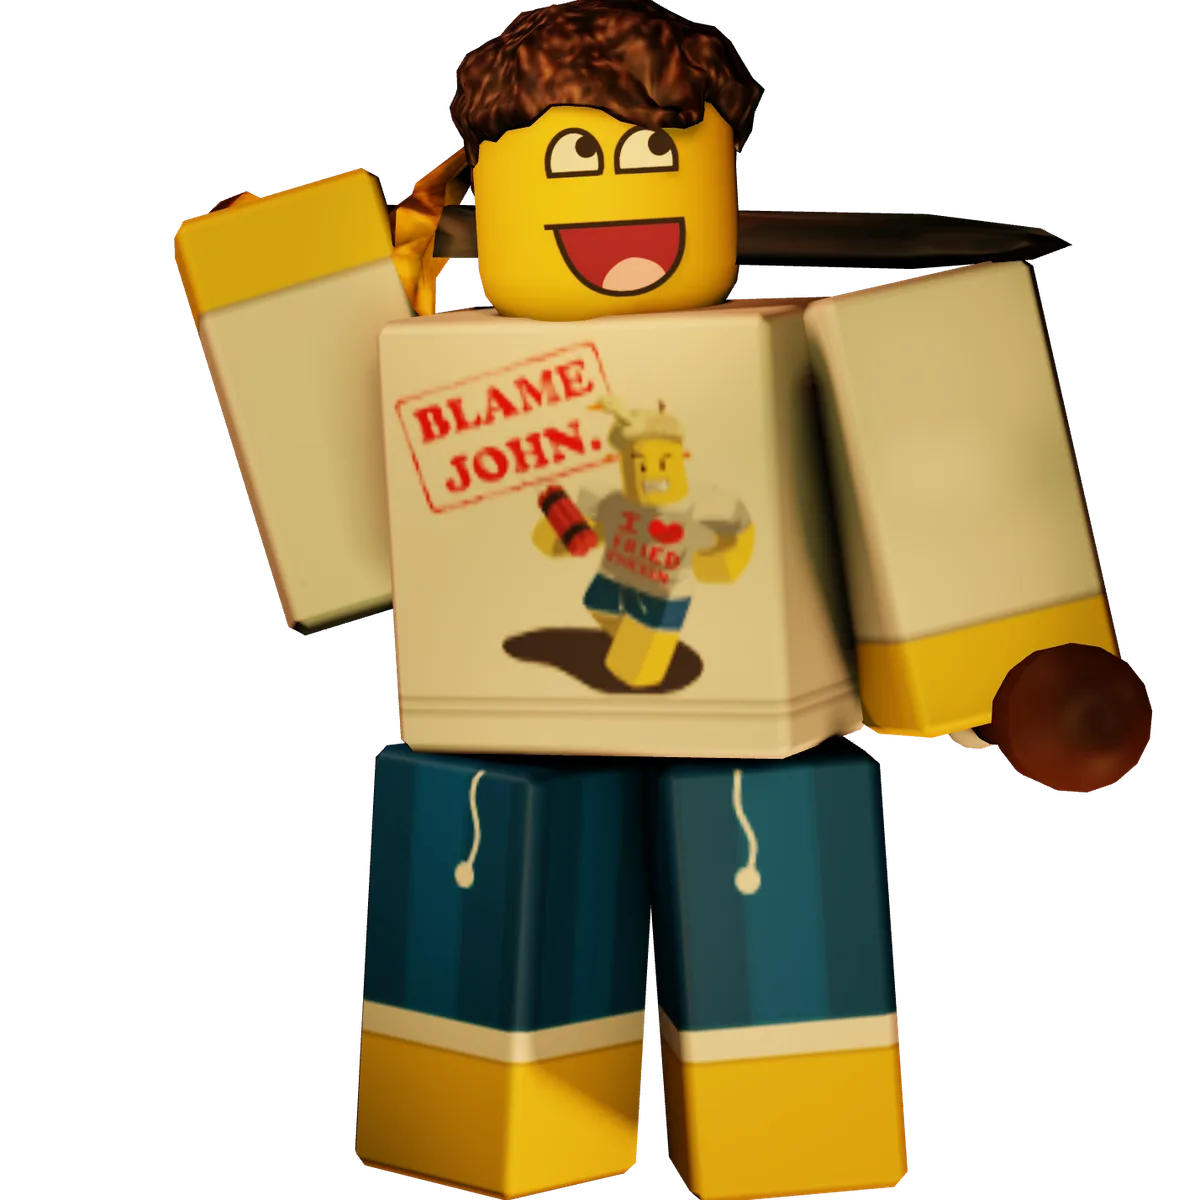
Shedletsky as they appear in Forsaken. Image: Forsaken (Roblox) © Forsaken Dev Group, via the Official Forsaken Wiki (forsaken.wiki).
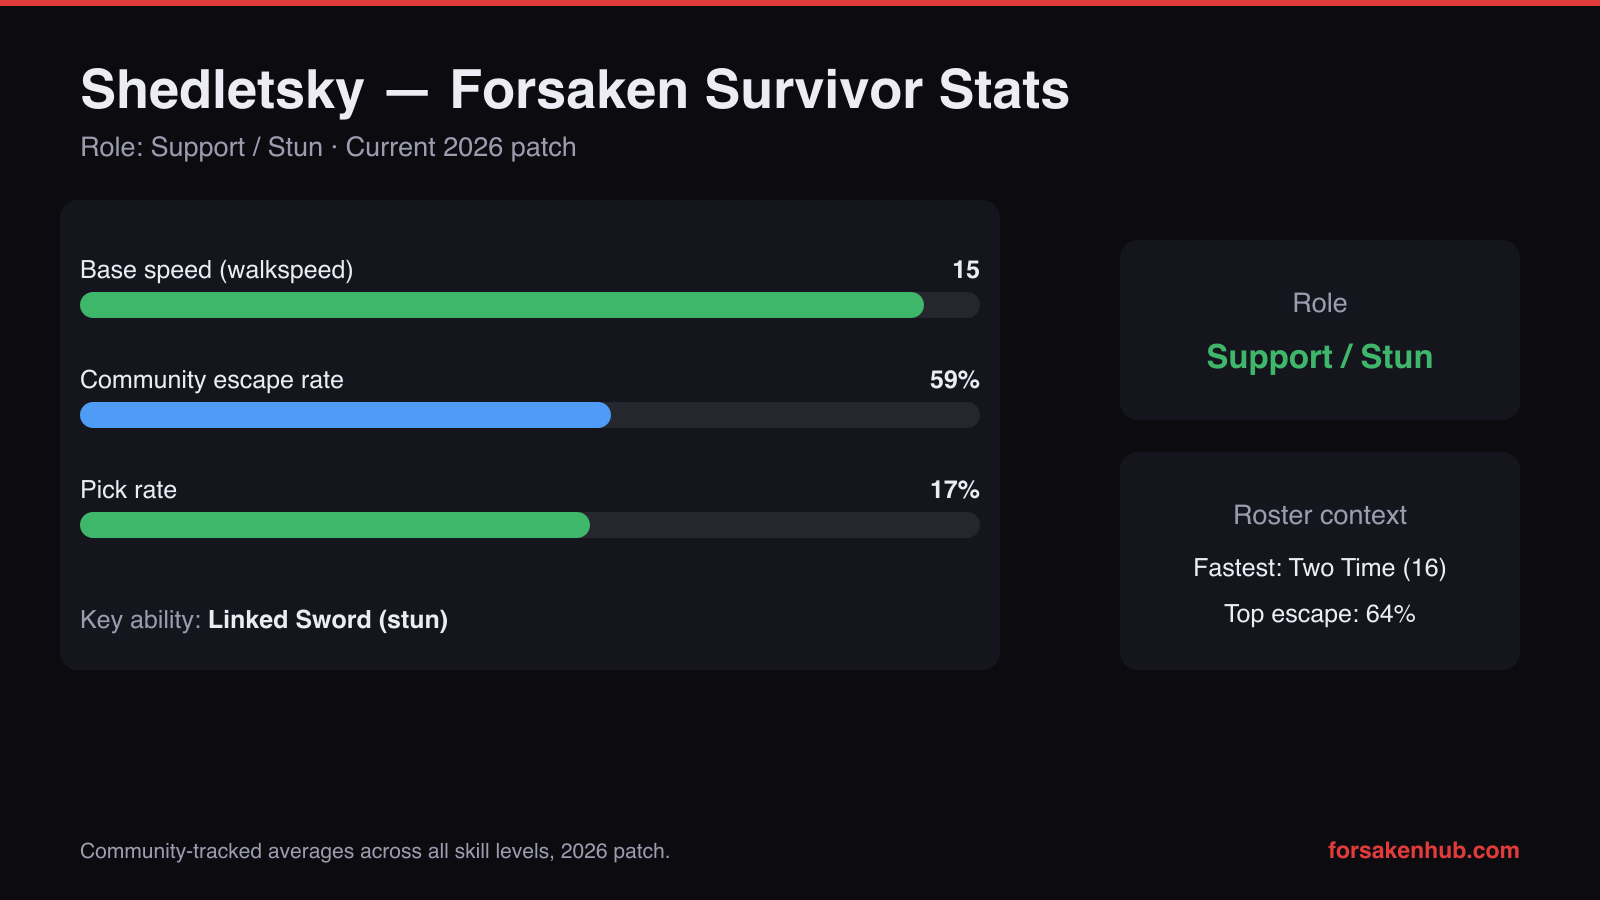
Shedletsky's stats from the Official Forsaken Wiki (September 2026). Chart by ForsakenHub.
Final Thoughts
Shedletsky is one of the best “anti-collapse” supports in Forsaken because you can actively interrupt a tunnel and convert that interruption into a full reset. Play patient, swing only on commitment, and your team will feel dramatically harder to finish off.
- • Target the killer’s “second hit” moment, not the start of chase.
- • Trade only when your team can convert into progress.
- • Use Chicken Heal to end the crisis and split again.
- • Use cover; don’t donate free downs in the open.
Next keyword posts: Jason/Slasher, coolkid (c00lkidd), Noob, and 007n7.
The Sentinel role, and what Slash is really buying
Shedletsky is a Sentinel and one of the three free starter Survivors. His Slash ability stuns the Killer for several seconds, and the correct way to think about that is as a time transfer rather than as self-defence. Those seconds come off the killer pressure and go into somebody generator progress. He also carries Fried Chicken, and the character is a nod to Roblox former creative director John Shedletsky.
A stun used to escape a chase you were winning anyway is close to wasted. A stun used the moment the killer commits to a teammate on a puzzle converts directly into layers, at three seconds off the clock each and twelve for the completed generator. The Sentinel class is defined by that trade.
Once you are the last survivor the round becomes Last Man Standing, the timer resets to 1 minute 14 seconds, and both players are highlighted to each other. A stun in that phase buys distance but no longer buys concealment, so hold it for a moment when distance actually converts into surviving the clock.
Timing Slash around the puzzle
The highest-value moment for a stun is the instant before an interruption, not the instant after a chase begins. Generator minigames regenerate when interrupted, so a killer who reaches a teammate two layers into a generator removes that progress entirely. A Slash that prevents the interruption preserves banked layers; the same Slash used thirty seconds later, after the puzzle has already reset, preserves nothing.
Shedletsky is one of the three starter Survivors, so you can learn whether Sentinel play suits you before spending anything. The paid Sentinels — Two Time and Guest 1337 at 500 Player Points, Chance at 777 — all build on the same idea of interfering with the killer directly. Player Points come only from public matchmaking, and they come from contribution rather than survival time — a generator puzzle layer pays 5 Player Points and 15 EXP, and a generator is four layers deep. Private servers award nothing at all, which makes them a place to rehearse rather than a place to grind.
Slash inside the round economy
A stun is a transfer of seconds, so the seconds need somewhere to go.
A round is four minutes long. Survivors win by outlasting it and killers extend it by eliminating people, so the only lever survivors control is the generators. On most maps there are five, each a Numberlink wire puzzle four layers deep. A completed layer removes three seconds from the clock and pays 5 Player Points and 15 EXP; a finished generator removes twelve seconds; clearing all five removes a full minute. The puzzle regenerates if you are interrupted, so unbanked layers are lost entirely rather than paused. The one map without generators is SFOTH, a private-server-only map with no objectives at all, so in public matchmaking every map has generators to work; Generator Hell, also private-server-only, uses an older square-flipping generator design.
The roster is fixed-ability rather than build-based. Survivors come in three classes: Survivalists Noob (free) and 007n7 (500 Player Points) look after themselves; Sentinels Shedletsky (free), Two Time and Guest 1337 (500 each) and Chance (777) interfere with the killer directly; and Elliot (free) is the only Support. Killers are c00lkidd and Slasher (both free), John Doe (1,000) and Noli (1,100). With no perks and no loadouts, picking a character is picking your role for the round, and nothing unlocked later changes how an existing character plays.
Items are deliberately scarce: only two kinds exist in public rounds — the Medkit, which restores 80 HP over a 7-second use, and the Bloxy Cola, which grants Speed II for 10 seconds after a 4-second drink — and both appear at marked spawn spots chosen at random each round. The other eleven items the wiki documents (Flashlight, Bloxiade, Epicsauce, Green Key, Glock, Broadsword, Assault Rifle, Gravity Gun, Fake Medkit, Fake Bloxy Cola and a test cola) exist only through the private-server command panel. You cannot build a strategy around holding a specific item, and there is no loadout system that would let you try.
Related Forsaken Guides
Forsaken Performance Settings 2026: Lag Fix, FPS Boost & Best Settings
Forsaken performance settings 2026: best graphics, 5 FPS-boost tweaks that work, lag fix framework, optimal keybinds, and mobile vs PC settings.
Forsaken New Player Servers 2026: How Long Until You Leave
Forsaken new player servers 2026: the playtime threshold to leave, how to queue with friends across the wall, and what changes when you graduate.
All Forsaken Characters 2026: Every Killer, Survivor & Skin Ranked
All Forsaken characters 2026: the complete killer + survivor roster with role, difficulty, links to per-character guides, and where to start for new players.
Forsaken Codes (2026): Why There Are None & How Free Rewards Really Work
Forsaken codes don't exist — the game has no redemption system. Here's why, how to spot fake code lists, and every real way to earn free rewards in 2026.
Guest 666 Forsaken Guide: Stats, Pressure Gameplan & Counters (2026)
Guest 666 Forsaken guide: wiki stats — 2,750 HP, 27 run speed, Burst / Snowball — the pressure gameplan that wins rounds, and the survivors that actually counter him.
Back to the ForsakenHub homepage for the full Forsaken Roblox guide hub, or browse all guides. You can also play the game directly on Forsaken on Roblox.