How to Escape 1x1x1x1 in Forsaken
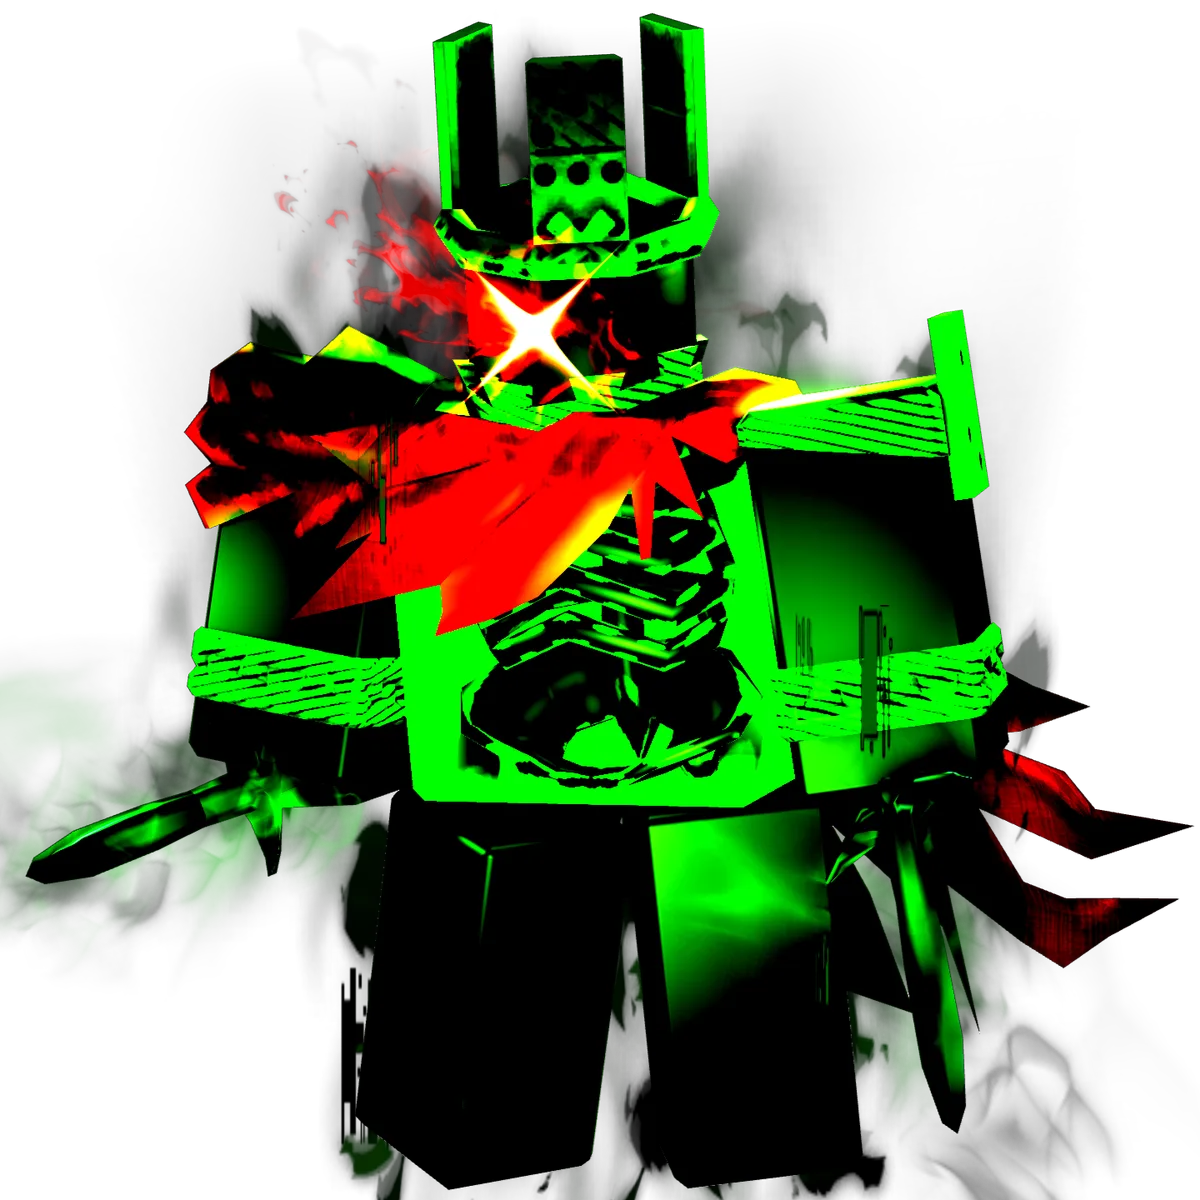
Complete counter guide for the S-tier killer's teleport ability
1x1x1x1 is the most feared killer in Forsaken Roblox for good reason. His teleport ability "Glitch Strike" can instantly close gaps and catch even experienced survivors off-guard. This guide will teach you proven strategies to counter his power and survive encounters.
Quick Stats: 1x1x1x1
- • Ability: Teleport through walls for 3 seconds
- • Cooldown: 45 seconds
- • Movement Speed: Medium
- • Detection Range: High
- • Win Rate: 62% (highest among all killers)
Understanding 1x1x1x1's Power
How Glitch Strike Works
When activated, 1x1x1x1 becomes intangible and can phase through any obstacle for 3 seconds. During this time:
- •He moves at 150% speed while phasing
- •Can't be stunned by cover spots during teleport
- •Leaves a glitchy trail showing his path
- •Makes a distinct static sound when activating
Pro Tip
The teleport has a 0.5-second activation animation. If you see 1x1x1x1 stop moving suddenly, he's likely about to teleport. Use this window to change direction!
Core Counter Strategies
1. The Double-Back Technique
The most effective counter to 1x1x1x1's teleport is the double-back:
- 1. Run in one direction to bait the teleport
- 2. As soon as you hear the static sound, immediately turn 180°
- 3. Run back through where he was standing
- 4. He'll phase through to where you were heading, buying you time
2. Open Area Strategy
1x1x1x1's teleport is most dangerous in tight spaces. When possible:
- • Lead chases to open areas of the map
- • Avoid narrow hallways and dead-end rooms
- • Use maps like SFOTH to your advantage
- • Keep multiple escape routes available
3. Cooldown Tracking
1x1x1x1's teleport has a 45-second cooldown. Track it mentally:
- • After he teleports, you have 45 seconds of safety
- • Use this window for risky generator repairs
- • Call out cooldown status to teammates
- • Force early teleports by faking window vaults
4. Line of Sight Breaks
1x1x1x1 needs to see where he's teleporting to be effective:
- • Use corners and obstacles to break line of sight
- • Crouch behind low walls during chase
- • Use smoke bombs or flashbangs if available
- • Darkness areas counter his teleport accuracy
Best Survivors Against 1x1x1x1
Guest 1337
Speed Burst after vaulting counters teleport perfectly. Vault a window, trigger Speed Burst, and create massive distance even if he teleports.
Noob
Danger Sense shows 1x1x1x1's aura within 20 meters, giving early warning of teleport attempts. Perfect for newer players learning his patterns.
Map-Specific Counter Tips
SFOTH
Use the bridge to force predictable teleports. The narrow path means he can only teleport forward or backward. Jump off the sides if needed.
Reborn Family Abode
Multiple floors counter vertical teleports. Drop through holes in the floor when you hear the static sound. He can't change elevation mid-teleport.
Natural Disaster
Use disasters to your advantage. Teleporting through a tornado or flood will damage 1x1x1x1. Bait teleports into hazard zones.
Team Coordination Against 1x1x1x1
Communication is Key
- Callout 1: "Teleport used!" - Immediately inform team when ability is on cooldown
- Callout 2: "Teleport ready!" - Warn team after ~40 seconds that ability is back
- Callout 3: Location updates - "1x1x1x1 at main building" helps teammates avoid him
Body Blocking Strategy
When 1x1x1x1 teleports, he commits to a direction. Teammates can body block his exit path, causing him to waste the ability. This requires coordination but is extremely effective.
Common Mistakes to Avoid
Dropping Cover spots Early
Never use cover spots preemptively against 1x1x1x1. He'll just teleport through them. Save cover spots for after his ability is used.
Running Straight Lines
Predictable movement makes teleports easy. Always incorporate unpredictable movements and sudden direction changes.
Hiding in Lockers
1x1x1x1's high detection range means he'll find you in lockers. It's better to keep moving than to hide against him.
Advanced Techniques
The Fake Vault
Run toward a window, start the vault animation, but cancel it immediately. 1x1x1x1 often teleports to the other side predicting your vault. This wastes his ability completely.
Corner Dancing
At sharp corners, rapidly change direction around the corner. The teleport's momentum carries him past you, allowing you to double back to safety.
Elevation Abuse
On maps with multiple levels, drop to lower floors when you hear the static. 1x1x1x1 can't adjust elevation during teleport, forcing him to take stairs.
Final Thoughts
Escaping 1x1x1x1 requires practice, awareness, and quick thinking. While he's the strongest killer in Forsaken Roblox, these strategies will significantly improve your survival rate. Remember:
- • Always track his cooldown timer
- • Use the double-back technique
- • Communicate with your team
- • Stay in open areas when possible
- • Practice the advanced techniques
Master these techniques and turn the hunter into the hunted!
Related Guides
Escaping is a clock problem, not a hiding problem
There is no exit gate in Forsaken. Survivors do not escape through a door — they win by outlasting a four-minute round, and the killer works against that by eliminating people, which adds time to the clock. So "escaping" a killer means surviving the encounter and getting back to an objective, not reaching a way out. Guides that describe powering gates and leaving the map are describing a different game.
The lever you control is the generator puzzles. Each completed layer takes three seconds off the clock, a full generator takes twelve, and clearing all five takes a whole minute. Each layer also pays 5 Player Points and 15 EXP. Because a generator is four layers deep and the puzzle regenerates if you are interrupted, the survivor who banks two layers and leaves cleanly has done more for the team than one who holds a generator until the killer arrives and loses everything.
What you have instead of pallets
Forsaken has no pallets and no vaults, so a chase is a pure geometry problem: break the sightline around solid cover, then change direction while you cannot be seen. Breaking line of sight without changing bearing accomplishes little, because the killer simply continues along your last known heading. The other lever is stamina — killers only begin draining sprint stamina inside roughly 85 studs of a survivor, so keeping them making long approaches costs them nothing and keeping them in close pursuit costs them a lot.
The moment concealment stops working
Once you are the last survivor, Last Man Standing triggers: the timer resets to 1 minute 14 seconds and both you and the killer are highlighted to each other for six seconds. Nothing you do hides you at that point. If you have been saving an ability for the endgame, spend it before this phase rather than after — and on the two maps with no generators at all, SFOTH and Generator Hell, outlasting the clock really is the entire job.
The systems behind every escape
Forsaken has no perks and no loadouts, so every decision below is made with a fixed kit. Survivors fall into three classes: Survivalists (Noob, free; 007n7, 500 Player Points) who look after themselves, Sentinels (Shedletsky, free; Two Time and Guest 1337 at 500; Chance at 777) who interfere with the killer directly, and Elliot, the only Support, also free. Killers are c00lkidd and Slasher, both free, John Doe at 1,000 and Noli at 1,100. Picking a character is picking your role for the whole round.
Items are scarce by design: only two spawn in a public round, from a pool including the Medkit, Bloxy Cola, Flashlight, Bloxiade, Epicsauce and the Green Key, plus weapons such as the Glock, Broadsword, Assault Rifle and Gravity Gun — and the Fake Medkit and Fake Bloxy Cola, which do not behave like the real thing. You cannot plan around holding a specific item, because most rounds you will not have it.
Progression, and where it does not accrue
Player Points are the shop currency and come from public matchmaking only. A generator puzzle layer pays 5 Player Points and 15 EXP, so the game rewards contribution rather than time survived. Private servers award nothing at all — they are for walking a map, counting exits, and rehearsing ability timings, not for grinding. EXP runs on a separate per-character track, unlocking a milestone Skin at level 25 and capping at level 100, which means grinding one character builds skins while spreading play builds roster breadth.
Two maps sit outside all of this. SFOTH and Generator Hell have no generators, so there is no clock lever, nothing to interrupt and nothing to defend. Strategy carried over from the standard rotation simply does not apply there, and rounds resolve on pursuit and survival alone.
Common questions
Where is the exit gate?
There isn't one. Forsaken has no exit gates and no escape hatch — survivors win by outlasting the four-minute round, not by leaving the map. Any guide describing powering gates to escape is describing a different game in the same genre.
Can I just hide for four minutes?
Rarely, because the killer extends the clock by eliminating people. A team that hides while one player is hunted watches the timer grow. Generator layers are what bring the round to an end sooner, at three seconds a layer and twelve per completed generator, so hiding is best used as transit between objectives rather than as the plan itself.
What happens when I am the last one alive?
Last Man Standing triggers: the timer resets to 1 minute 14 seconds, the music changes, and both you and the killer are highlighted to each other for six seconds. Concealment stops working entirely, so anything you were saving for that moment should have been spent earlier. Plan the endgame around distance and movement rather than around not being found, because being found is now guaranteed. In practice that means keeping an escape route in mind before the phase begins, rather than improvising once the highlight appears. The six-second highlight is short enough that a survivor who already knows where they are going can break the killer's line of sight before it expires, while one who is still deciding usually cannot. That single difference decides a large share of Last Man Standing outcomes, and it is settled well before the phase starts.